Have you ever written a blog post, published it, shared it on social once and then never shared or promoted it again? Me too.
I’ve been using MissingLettr for seven months, hoping it would help me share my content on a more consistent basis. If you’re not familiar, MissingLettr pulls in your latest blog post and creates 9 social media posts in an evergreen campaign that spans 365 days. Using text from your blog post, MissingLettr also adds 1-3 hashtags and either uses the images in your blog post or a visual quote bubble that it creates for you.
Here’s a tweet that was published with MissingLettr:
Any time you have left after reactive work is dedicated to proactive work — but honestly, is there a lot of time after that?
— Rene Morozowich (@ReneMorozowich) May 14, 2021
Read the full article: Review of The Revenue Growth Habit
▸ https://t.co/Dh1cXtTt6b#BusinessGrowth #Marketing pic.twitter.com/dk4xmoYVX2
I snagged MissingLettr for $59 on Black Friday, but the regular price for the Solo plan is $19/month or $180/year ($15/month).
Since I’ve been using Publer for social media scheduling, I wanted to try to replicate the MissingLettr functionality. Here’s how I did it (and how you can too).
Initial Setup
There was a bit of setup to get a structure in place that I can copy for each new blog post. This involved:
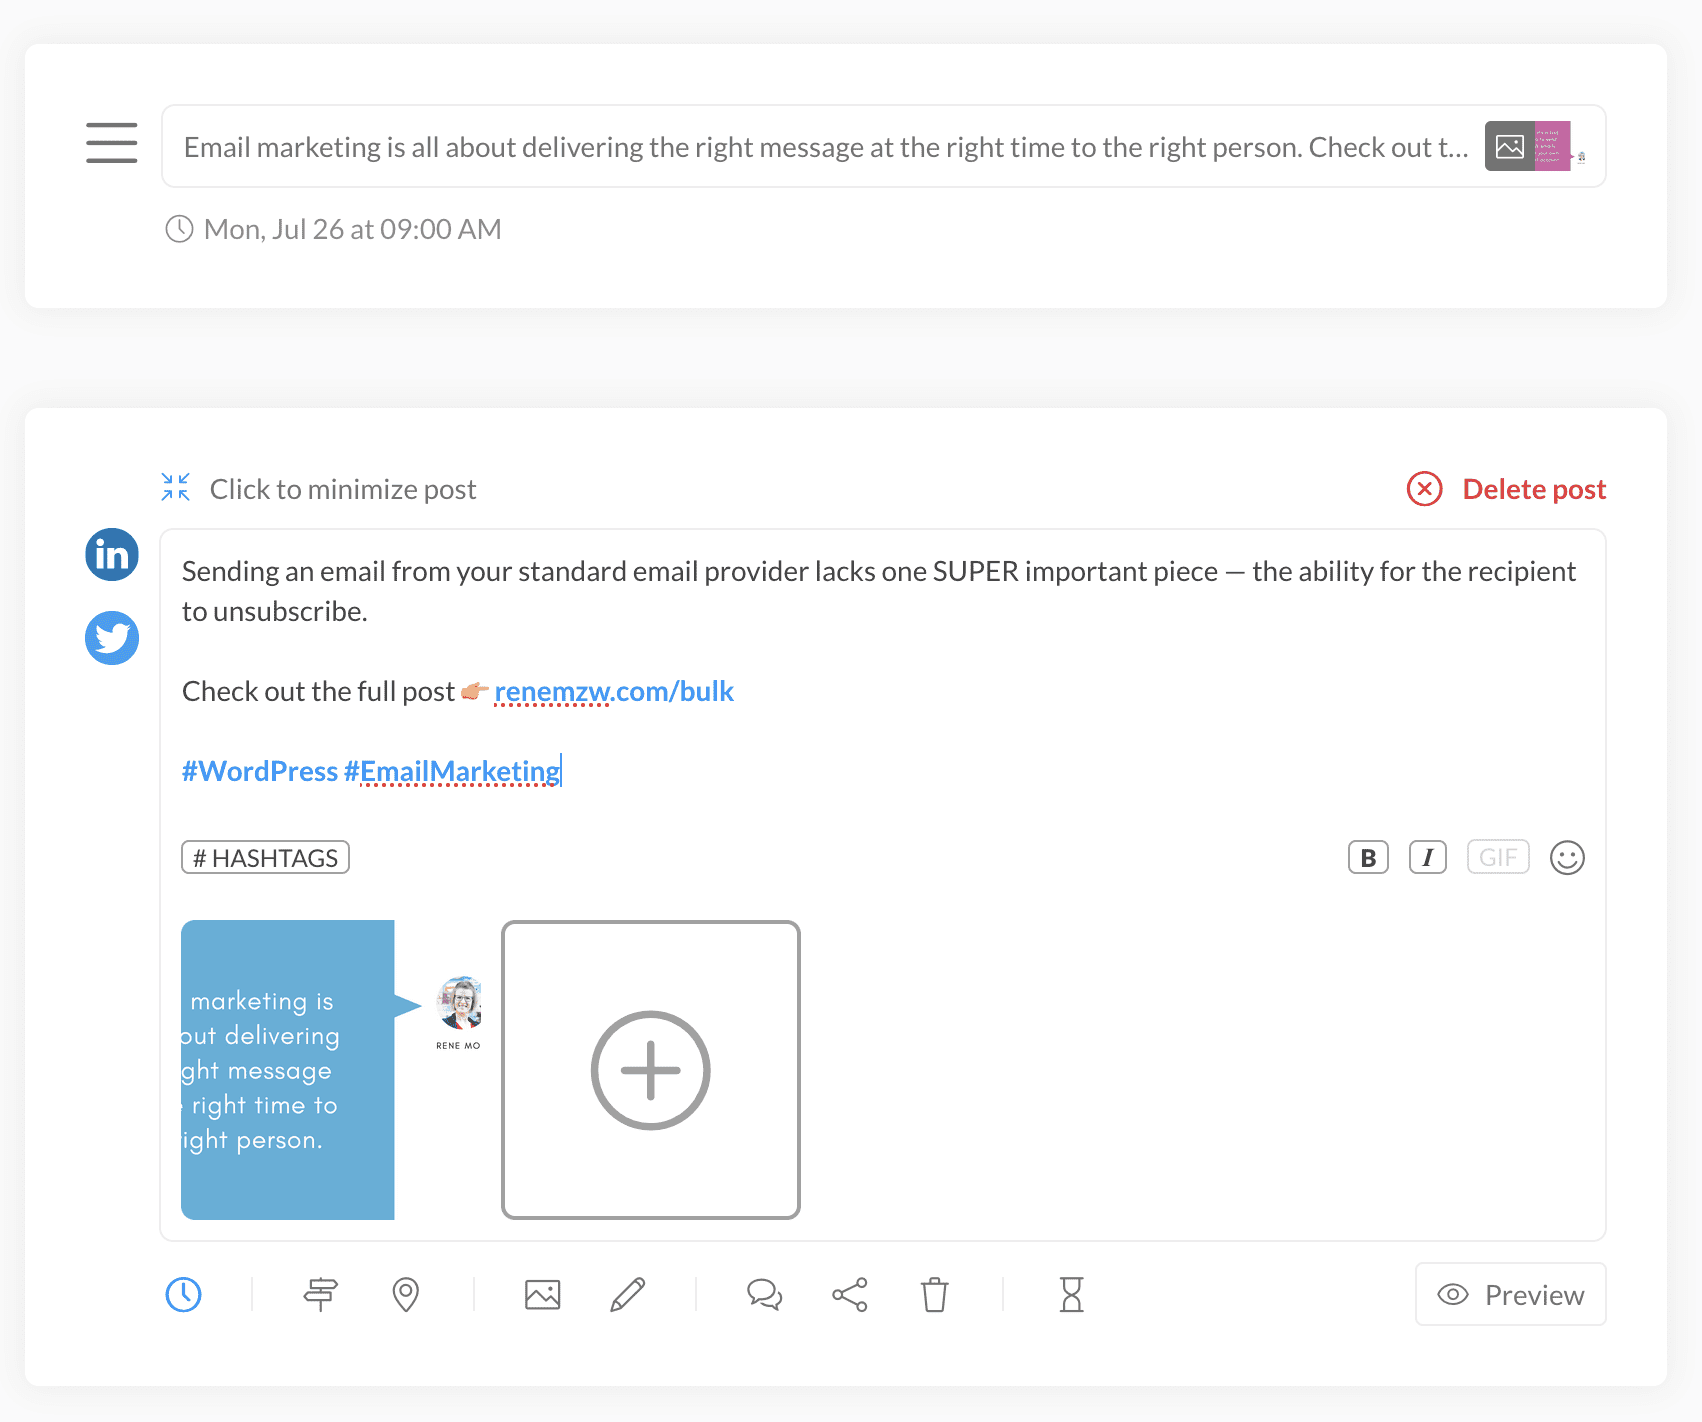
- Creating a Canva template with 8 Twitter/LinkedIn/Facebook graphics (rectangular); get your copy of the template here
- Customizing the Canva template with my name, my photo and my brand colors
- Copying and customizing Publer’s CSV template; get your copy of my customized template here
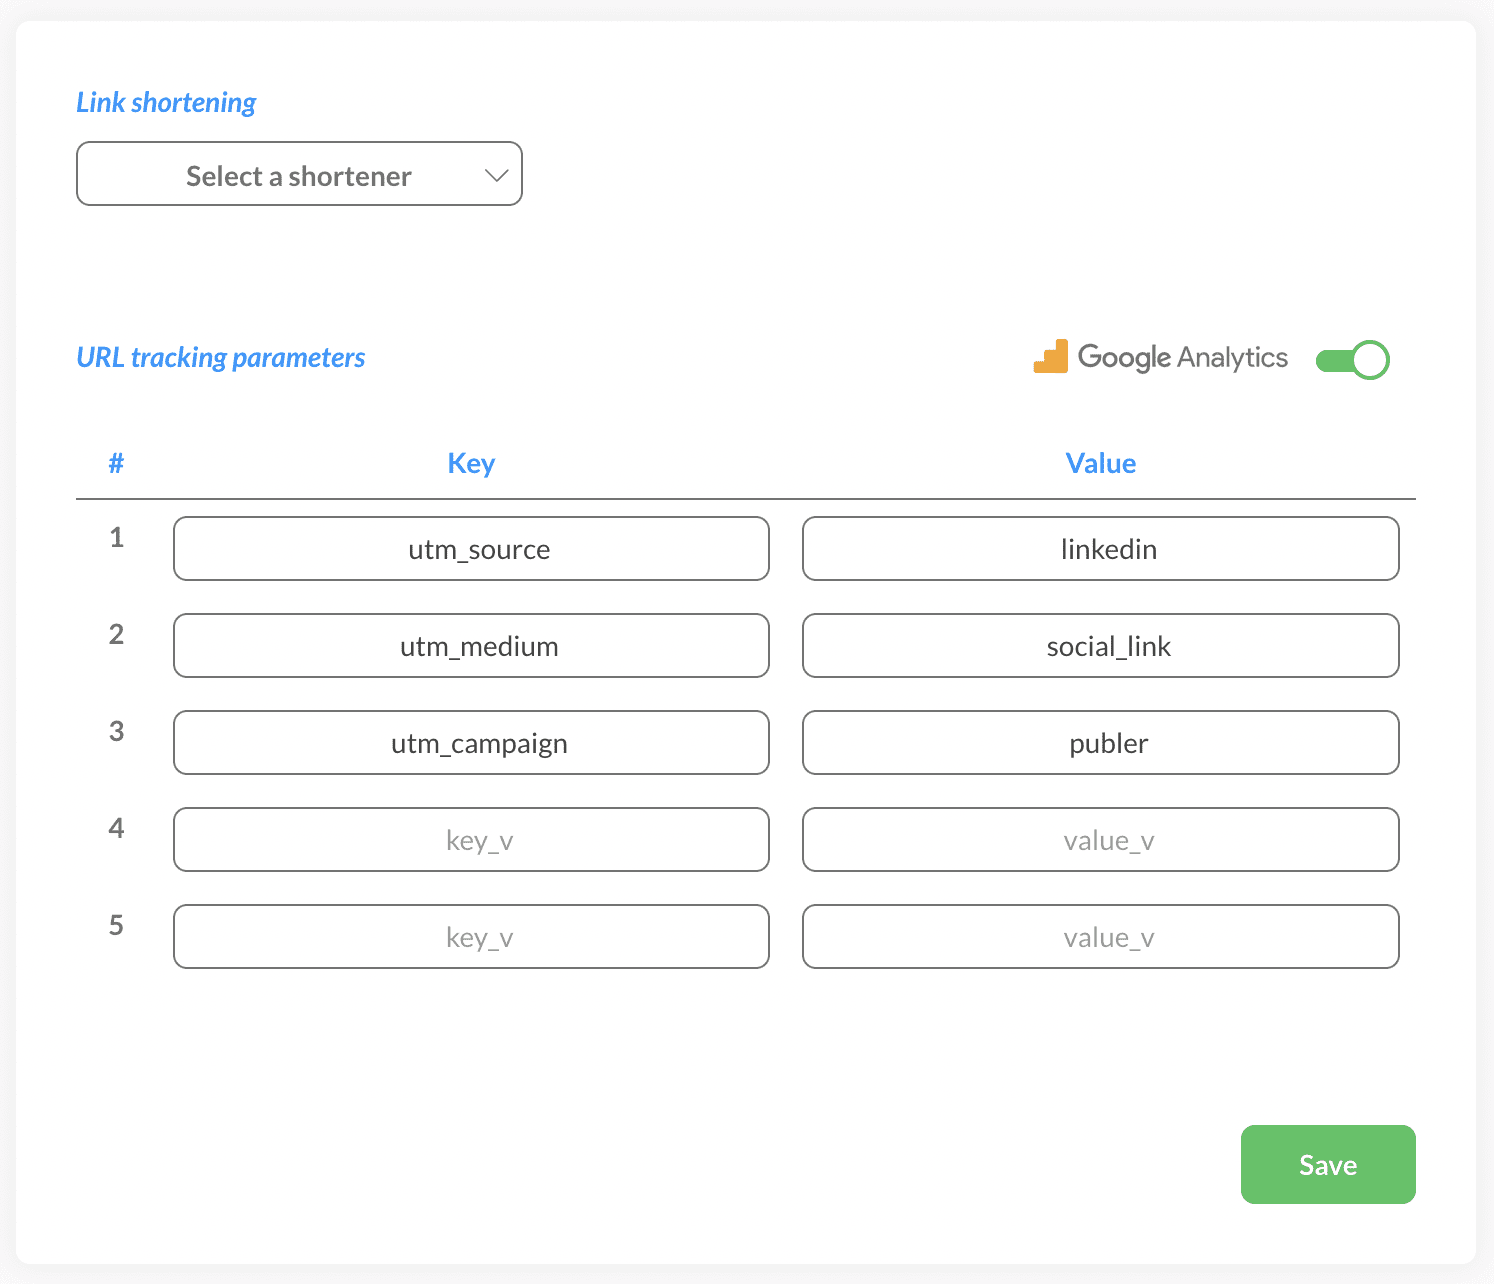
- Customizing Publer’s UTM parameters for each of my social networks (this step is optional)

Tasks for each blog post
After the initial one-time setup, publish a new blog post like you normally would.
Step 1 – Canva
Head over to Canva and:
- Copy your Canva template to a new document (or overwrite the existing one)
- Customize with quotes (2-3 total including the title of your blog post)
- Download the images
- Upload them so they are accessible publicly (you can use your WordPress media library; I used an images folder)
- Note the URLs of the images
Step 2 – Google Sheets
Go to Google Sheets and:
- Copy your Google Sheet template to a new book (or overwrite the existing one)
- Enter a start date and time on the Start Date sheet in A1
- You can also massage the dates and/or days between each date on this sheet
- On the Content sheet, add text, links, emojis, hashtags and image captions in the Message column
- Add links in the Link column OR image links in the Media URLs column
- Download the sheet as a CSV
Step 3 – Publer
Here’s where the magic happens! At this point, there are just a few more clicks and everything is scheduled.
- Import the CSV
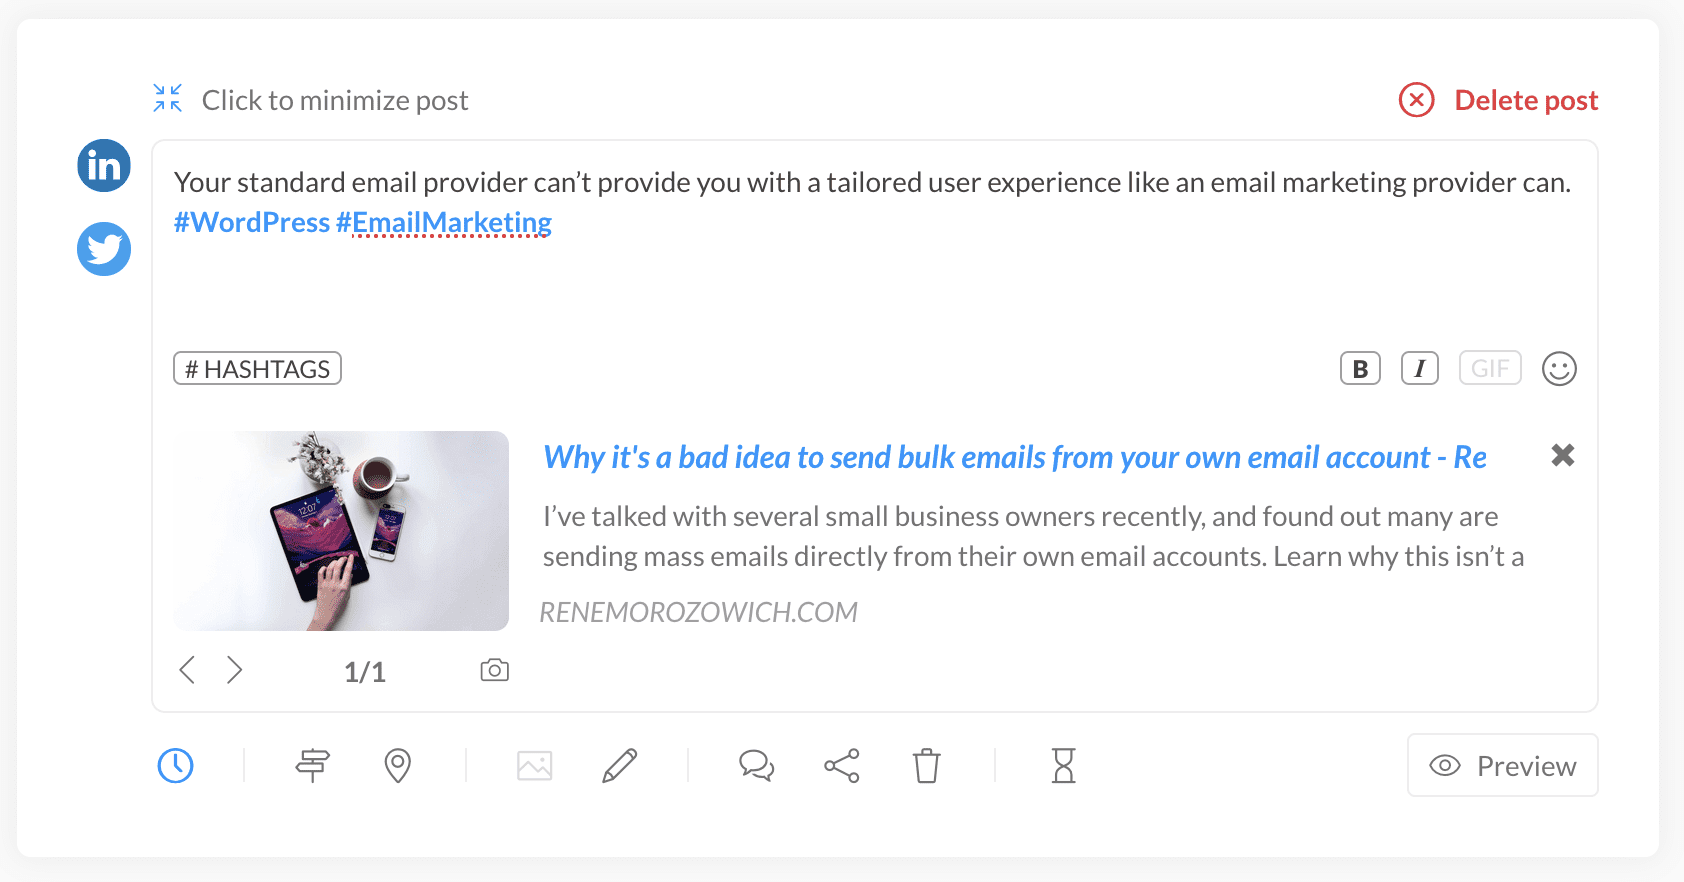
- Choose the social profiles you want to post to
- Check everything over
- Click Schedule


Here’s a tweet posted with Publer:
Upon receiving a goodbye email, subscribers may open and reengage with you. If they don’t, you can unsubscribe them automatically.
— Rene Morozowich (@ReneMorozowich) July 2, 2021
Read more 👉 https://t.co/b2f0TEmqKe #WordPress #EmailMarketing pic.twitter.com/AMxkKOhIpn
In case the steps are confusing or you have a question, send me a tweet or message on LinkedIn and I’d be happy to help!
Pros and Cons of Using Publer
Now, admittedly this isn’t exactly like MissingLettr. There are some cons:
- It’s more time-consuming (but not terrible)
- It’s more of a manual process (especially downloading and uploading the images)
- The dates don’t fit into a schedule (if you had excluded weekends in your MissingLettr schedule)
- The reporting isn’t as good
BUT, there are also some pros:
- It’s cheaper. I got a lifetime deal of Publer on AppSumo, but even if you pay for it, it’s less — $10/month or $96/year which works out to $8/month
- You can customize the quote bubbles and images a bit more
- You can change the dates on the CSV and schedule the posts again (I love this!)
- You can have any number of posts! Easily add more rows for more dates and customize the number of days after the first post
- There are some MissingLettr limitations — for example, the Solo plan only includes 3 social profiles while the Argentum plan in Publer includes 30
In all, if you have the money and are looking to save time, stick with MissingLettr. If you want a bit more flexibility, have some additional time and don’t have the funds (or just don’t want to spend the extra $$$), try Publer and my method above.
Either way – make sure you’re sharing the content that you write on your blog on social media!
