Today I want to talk about finding and using images (properly) on YOUR website.
I need an image. Where do I start?
I like Pexels and especially love how I can search by text AND color.
If I can’t find anything there, I move on to Pixabay.
And I’ve also heard good things about Stocksy, Unsplash and Death to Stock.
If you’re not having any luck, try reframing your search terms. For example, I primarily write about websites, however it would get boring really fast if all of my images were of computers. Also, don’t spend too long searching for the perfect photo.
I found a great photo! Now what?
You don’t need to download the largest possible size, especially if you’re uploading to your website. I often choose medium.
Now, let’s rename the file to something more meaningful.

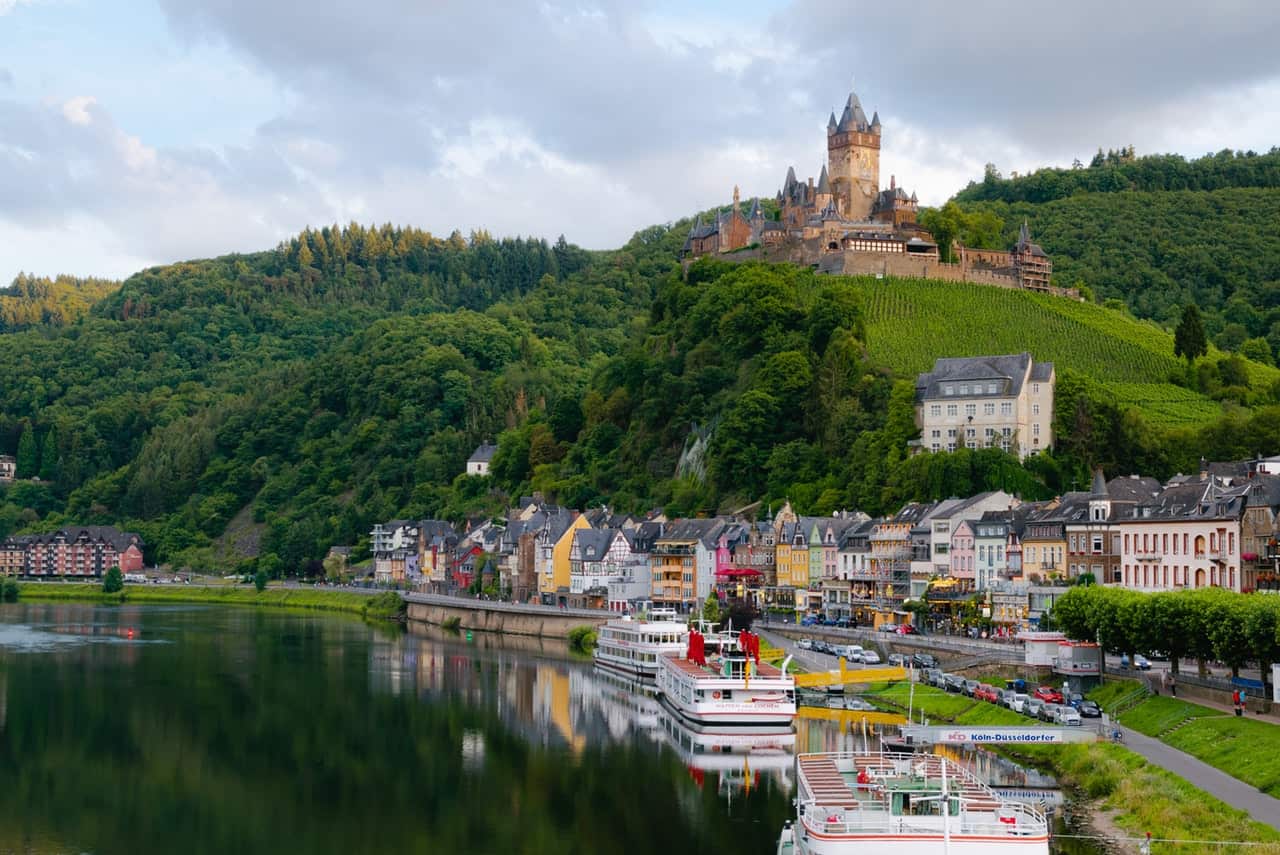
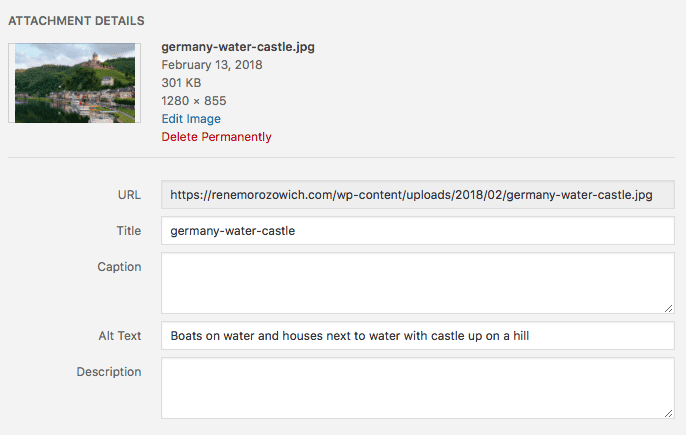
For example, the image above has the name germany-water-castle.jpg
You’ll note that the file name:
- Is descriptive but short
- Is all lowercase
- Doesn’t have spaces
- Has words separated by dashes
Shuttermuse talks about naming conventions in more detail, too.
My photo has a meaningful name. What’s next?
Next, let’s compress. You can use a compression tool like TinyJPG or a compression plugin on your WordPress site. Try ShortPixel or EWWW Image Optimizer.
Upload that bad boy to your website and make sure you fill out the “Alt Text” area of the Attachment Details screen.
Alt text should be readable and descriptive.

Taking this small extra step can yield big results.
- Accessibility — screen readers will read this text to visually impaired readers
- The text will be displayed if for some reason the image can’t load
- And search engines crawl this text, and when you have great alt text, they can index your page better
Moz.com has a comprehensive guide on alt text that you should definitely read.
There are additional considerations when talking about images, however, I hope this gets you started with finding and using images properly today!