We all know that welcome emails are the #1 automated email you should have set up, but how exactly do you do it? Today I’ll take you step-by-step through the creation of your own welcome email in MailerLite.
Groups
MailerLite allows you to create different groups (or lists). Each group can have its own welcome email. You can use an existing group or create a new group.
Use an existing group
If you already have a group created and a form on your website adding subscribers to this group, great! Just make note of the group name and move on to the “Create a workflow” step.
Create a new group
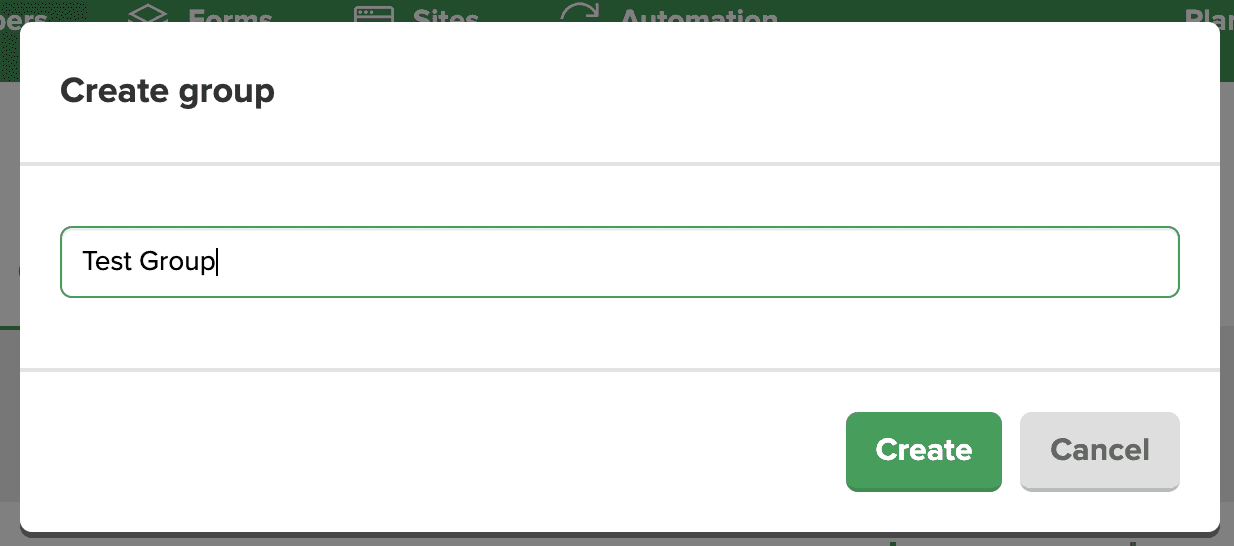
If you don’t have a group, go to Subscribers, Groups, Create group.

Enter a name for the group and click Create.
At this point, you’ll need to:
- Update the signup form on your website to add contacts to the new group
- OR create a form in MailerLite that adds contacts to the new group; then add the form to your website
Create a workflow
Now that you have a form populating a group, it’s time to create the welcome email automation. Go to Automation, Create workflow.

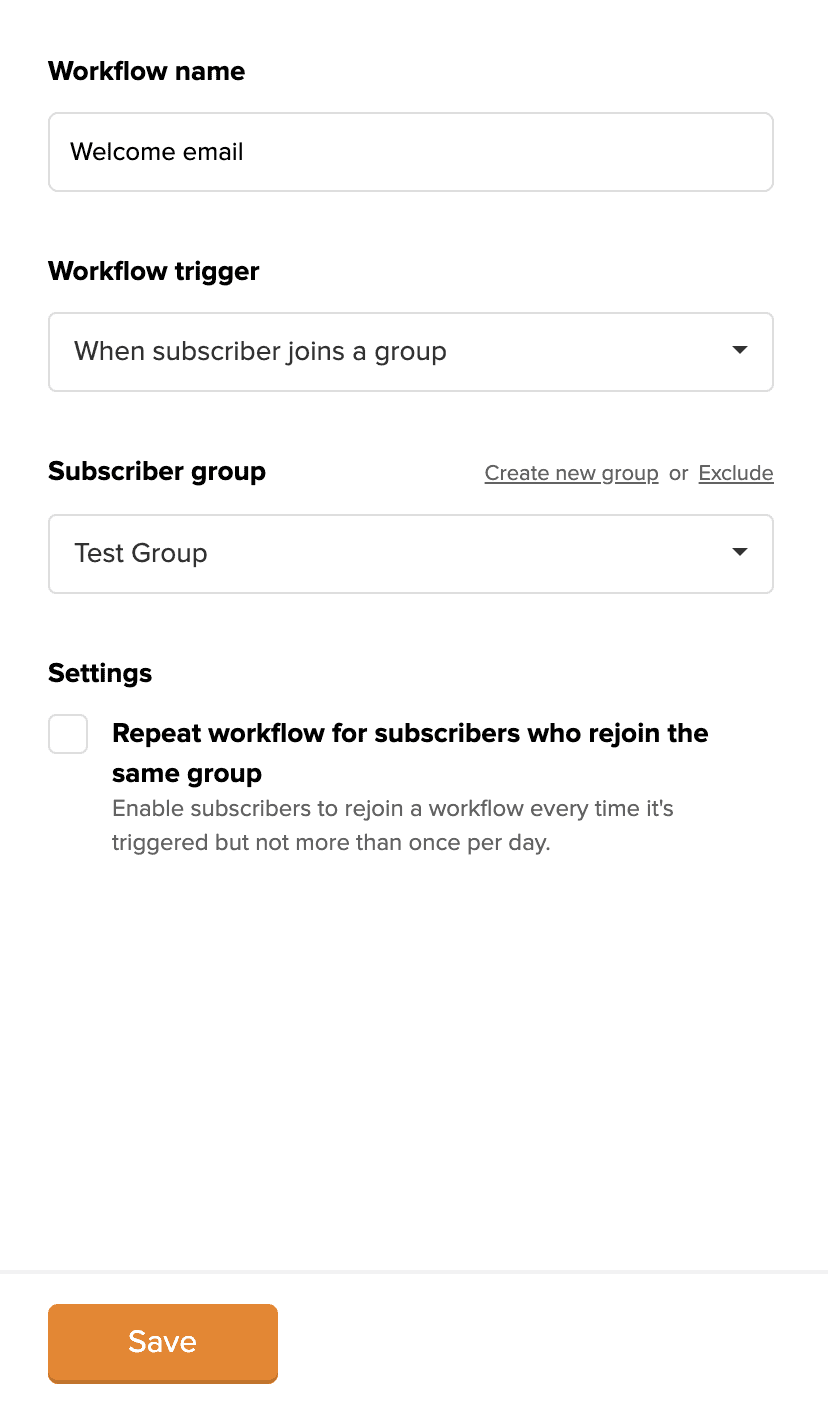
On the right side, enter a Workflow name. Choose the trigger “When subscriber joins a group” and select your group. (You can also choose the trigger “When subscriber joins a form” if you’re using a MailerLite form that you’ve already created.)
I generally don’t check “Repeat workflow…” because if someone subscribed, unsubscribed and then resubscribed, I don’t need to welcome them again.
Click Save.
Add and create your welcome email
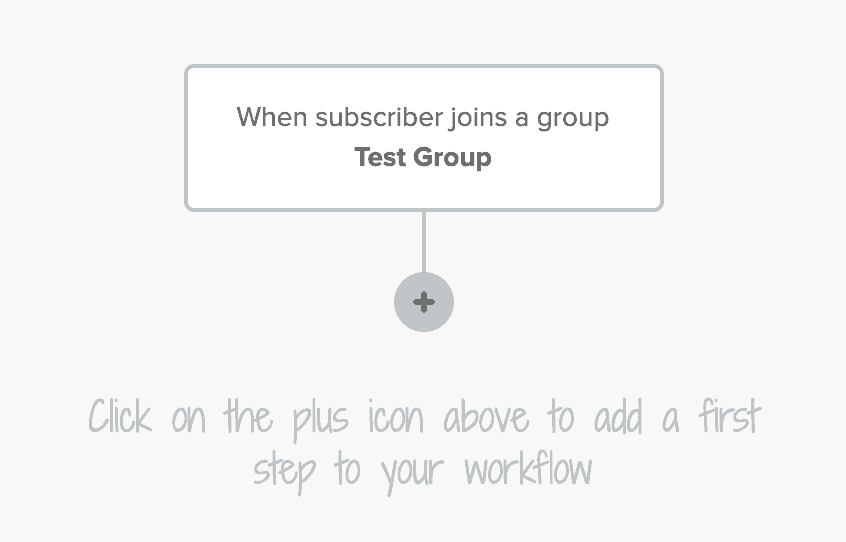
Click the plus icon to add a step to your workflow.
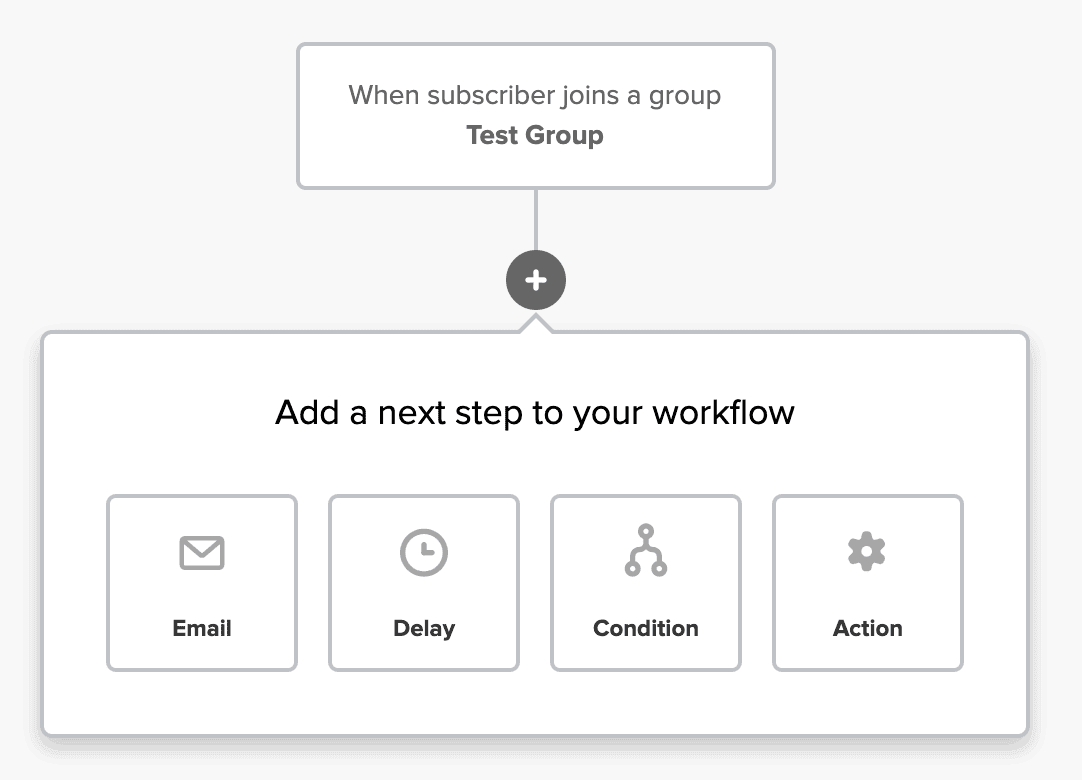
Choose Email. (Note that you can do delays, conditions and other actions as well!)
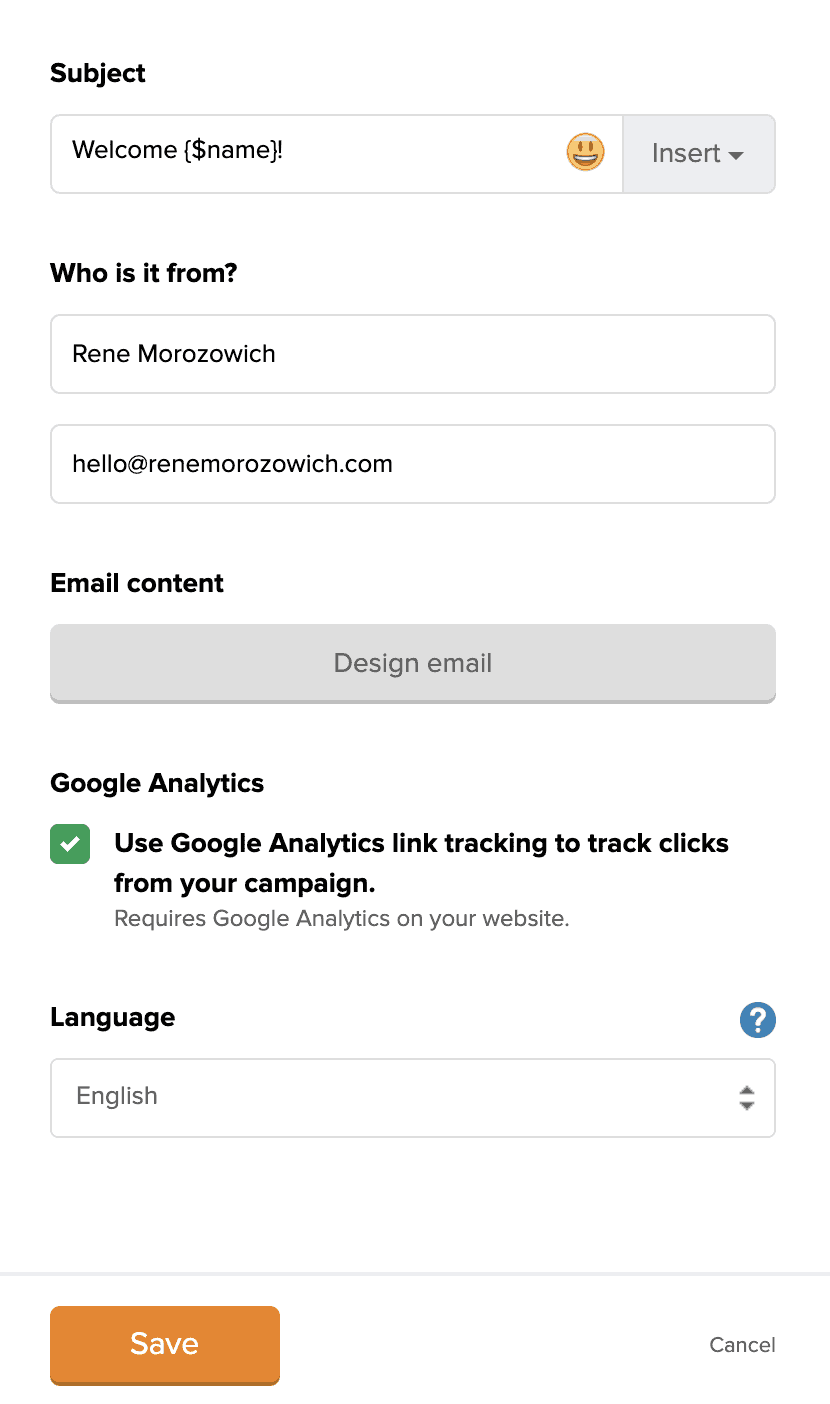
On the right side, enter a compelling subject. (Check out these tips for subject lines from HubSpot, OptInMonster, Campaign Monitor and the Online Marketing Made Easy podcast.)
I like to personalize the subjects of my email — just click the Insert button and choose name.
From there — enter the from name (yours) and email address (yours). Click Design email.
Design your email
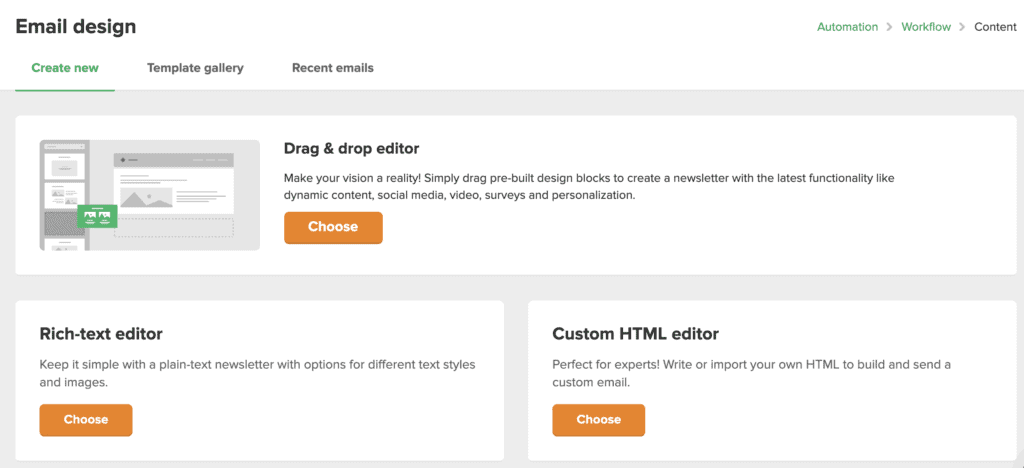
There are a lot of options for designing your email:
- The Rich-text editor (for text-based emails)
- The Drag & drop editor to use pre-built design blocks
- The Template gallery to choose a pre-designed email
For this, I’ll choose the Drag & drop editor.
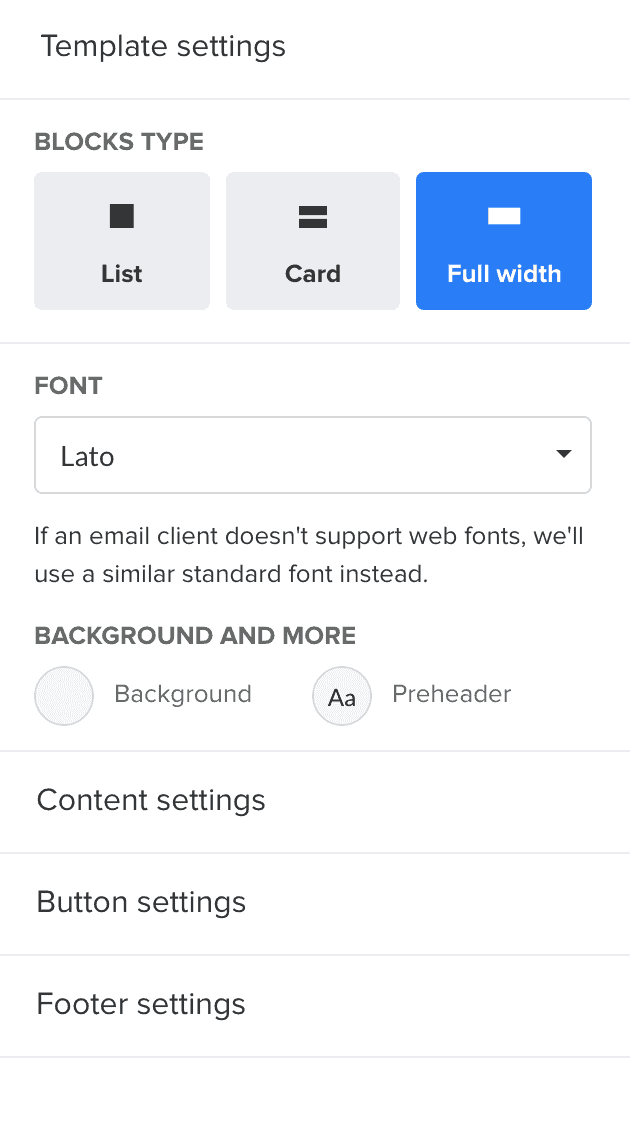
Before you make any changes, take a second to look through the settings on the right — Template settings, Content settings, Button settings and Footer settings. Match your brand fonts and colors, or if you don’t have those, just pick what you like best. This will save you from having to update every block you add to your email manually.
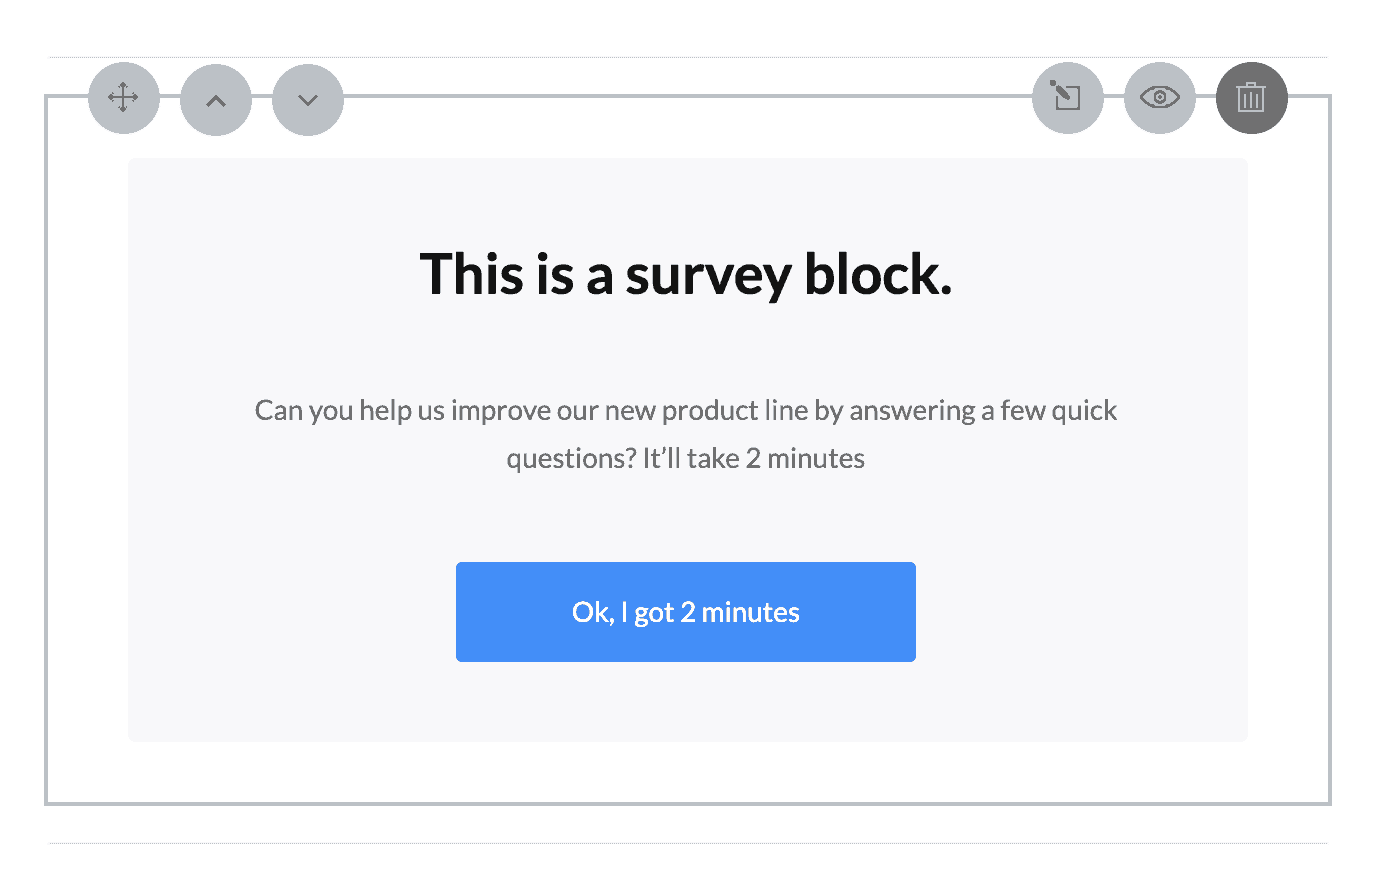
After that, go through the email and remove any blocks that you don’t want. Hover and click the trash can on the top right.
Then, scroll through all of the available blocks. Find one you like and click/hold/drag it into your email.
Now populate the email! Wondering what to say? Check out the “what to include” section on this post.
Here’s my welcome email. Feel free to design yours however you see fit!

Sign up for my list if you want to receive my welcome email and see how the process works from a user perspective.
Complete the automation
Once your email is complete, you can send a test email under Preview and test. When you’re totally done, click Done editing on the top right.

Then — and this is crucial — turn the automation on.

Once your automation runs for awhile, you’ll see the stats on the Automation page in MailerLite.
Test the entire process OR ask a friend to do so. Make sure that all steps are clear and work properly!
Take it further
Now that the welcome email is down, try tackling a full-on automation with multiple emails. (Don’t worry, it’s not as hard as it sounds!)
If you need help, learn more about my email marketing services.
